

Welcome to the Barony of St Florian de la Riviere
We are a branch of the Society for Creative Anachronism (SCA), a worldwide organization of people interested in recreating history up to 1600. The Society for Creative Anachronism (SCA) has groups in Australia, New Zealand, the United States of America, Canada and Europe as well as other countries. The Kingdom of Lochac is made up of Australia and New Zealand. Within Lochac we have groups in every capital and in other major cities. Brisbane is very fortunate to have two major SCA groups within it:
- The Barony of Saint Florian de la Riviere which extends south of the Brisbane River, all the way to the NSW border.
- The Barony of River Haven which encompasses the rest of Queensland.
We cover recreation of many different time periods (pre 1600), so whether you want to be a rough and ready Viking or a grand refined Elizabethan there are people that can help you achieve that goal.
St Florian de la Riviere is a very active group, we have Combat Training weekly and Arts and Sciences Gatherings monthly. We also have several larger events within the group each year. You are not expected or required to attend these weekly meetings or special events, you can pick and choose what you want to go to. The level of involvement within the group varies with each individual member. These are just the general meetings and we have many special events outside of these times including feasts, courts, tournaments and large scale camping events (see our events page for more information).
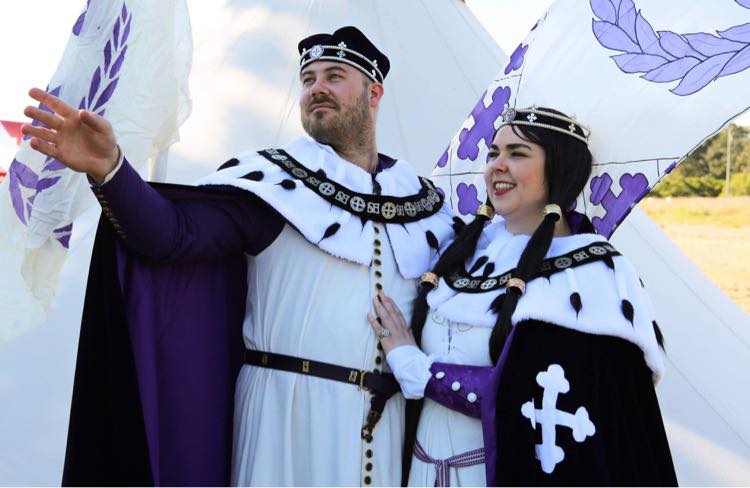
Photos by Constanzia Moralez y de Zamora